RLinf 快速上手:在 AIStudio 开发机上使用 PPO 训练 VLA 模型
本快速教程将带您在 AIStudio 开发机上使用 RLinf 框架,在 ManiSkill3 环境中训练视觉-语言-动作模型(VLA),包括 OpenVLA。
您可以使用 AIStudio 开发机直接运行以下脚本完成训练。
前置条件
在开始之前,您需要在 AIStudio 平台上创建一个开发机实例。
创建 AIStudio 开发机:根据需要选择以下任一方式创建开发机
- 使用弹性资源创建开发机(按量付费)
- 使用包年包月资源创建开发机
- 建议选择配置为 2/4/8 卡 GPU 的开发机规格,示例配置文件模型使用 2 卡
选择合适的镜像:在创建开发机时,请在「镜像」配置项中选择「预置镜像」,并选择 RLinf 具身镜像。该镜像已预装所有必需的依赖和环境。
镜像地址:
cr.infini-ai.com/infini-ai/rlinf:agentic-rlinf0.1-torch2.6.0-openvla-openvlaoft-pi0
重要
建议参考 RLinf 官方硬件软件要求。
环境简介
ManiSkill3 是一个基于 GPU 加速的机器人研究仿真平台,专注于复杂接触操作和具身智能任务。该基准涵盖多个领域,包括机械臂、移动操作器、人形机器人以及灵巧手,支持抓取、组装、绘图、移动等多种任务。
RLinf 还针对 GPU 仿真器进行了系统级优化(详见 GPU 混合模式)。
登录开发机并克隆 RLinf 代码仓库
登录 AIStudio 开发机,使用 Web Terminal 或 SSH 连接到开发机。详见 SSH 远程登录。
登录开发机后,在默认路径下(/root),克隆 RLinf 仓库:
git clone https://github.com/RLinf/RLinf.git
cd RLinf如果遇到网络限制问题,请参考第三方学术加速服务指南。
启动训练
注意
本教程使用预配置的 Docker 镜像 cr.infini-ai.com/infini-ai/rlinf:agentic-rlinf0.1-torch2.6.0-openvla-openvlaoft-pi0 启动训练。该镜像已预装所有必需的依赖和环境。
根据要训练的模型,请确保已切换到对应的 Python 环境。使用内置脚本 switch_env 切换环境:
- 对于 OpenVLA:
source switch_env openvla - 对于 OpenVLA-OFT:
source switch_env openvla-oft - 对于 OpenPI:
source switch_env openpi
Step 0 下载预训练模型
为了保证训练中断后数据不丢失,建议将模型和数据保存到 AIStudio 的共享高性能存储中。如果在创建开发机时已挂载共享高性能存储卷,可直接使用为存储卷配置的容器内挂载点(如 /mnt/rlinf-training)。
若使用 OpenVLA 模型,请在开发机中运行以下命令:
shell# 按需设置 Hugging Face 国内镜像站 # export HF_ENDPOINT=https://hf-mirror.com # 下载 OpenVLA 预训练模型到共享存储 hf download gen-robot/openvla-7b-rlvla-warmup \ --local-dir /mnt/rlinf-training/models/openvla-7b-rlvla-warmup/该模型已在论文中引用:paper
若使用 OpenVLA-OFT 模型,请运行以下命令:
shell# 按需设置 Hugging Face 国内镜像站 # export HF_ENDPOINT=https://hf-mirror.com # 下载 OpenVLA-OFT 预训练模型 hf download RLinf/Openvla-oft-SFT-libero10-trajall \ --local-dir /mnt/rlinf-training/Openvla-oft-SFT-libero10-trajall/ # 下载在maniskill上lora微调过的检查点 hf download RLinf/RLinf-OpenVLAOFT-ManiSkill-Base-Lora \ --local-dir /mnt/rlinf-training/oft-sft/lora_004000 # 下载 assets hf download --repo-type dataset RLinf/maniskill_assets \ --local-dir /root/Rlinf/rlinf/envs/maniskill/assets
注意
如果尚未配置共享高性能存储,且使用按量付费型开发机,也可以购买云盘存储空间,并将模型保存到开发机的云盘目录(/datadisk,系统默认提供 20 GiB 免费云盘)。
Step 1 修改配置文件
在运行训练脚本之前,您需要根据模型和数据集的下载路径,修改 YAML 文件中的相应配置项。
对于 OpenVLA,请修改 Rlinf 代码仓库路径下
./examples/embodiment/config/maniskill_ppo_openvla_quickstart.yaml,配置为已下载模型的路径:yamlrollout: model: model_path: /mnt/rlinf-training/models/openvla-7b-rlvla-warmup/ actor: model: model_path: /mnt/rlinf-training/models/openvla-7b-rlvla-warmup/ tokenizer: tokenizer_model: /mnt/rlinf-training/models/openvla-7b-rlvla-warmup/对于 OpenVLA-OFT,请修改 Rlinf 代码仓库路径下
./examples/embodiment/config/maniskill_ppo_openvlaoft_quickstart.yaml,配置为已下载模型的路径:yamlrollout: model: model_path: /mnt/rlinf-training/models/openvla-oft-sft/ actor: model: model_path: /mnt/rlinf-training/models/openvla-oft-sft/ lora_path: /mnt/rlinf-training/oft-sft/lora_004000/ is_lora: true tokenizer: tokenizer_model: /mnt/rlinf-training/models/openvla-oft-sft/
如果您的开发机配置了多张 GPU 并希望加快训练速度,可以修改配置文件中的参数 cluster.component_placement。
例如,对于 4 卡或 8 卡,可分别设置为 0-3 或 0-7。
cluster:
  num_nodes: 1
  component_placement:
    actor,rollout: 0-7
Step 2 运行官方 Docker 镜像中的训练脚本
确保在开发机切换到对应的 Python 环境,然后启动训练。
对于 OpenVLA:
bashsource switch_env openvla bash examples/embodiment/run_embodiment.sh maniskill_ppo_openvla_quickstart对于 OpenVLA-OFT,
shellsource switch_env openvla-oft bash examples/embodiment/run_embodiment.sh maniskill_ppo_openvlaoft_quickstart
Step 3 查看训练结果
训练完成后,最终模型与指标将保存在以下位置:
最终模型与指标保存路径:
./logs在开发机内启运行以下命令启动 TensorBoard:
bashtensorboard --host 0.0.0.0 --logdir path/to/tensorboard/ --port 6006重要
请确保绑定到
0.0.0.0,否则无法通过 AIStudio 平台的 Web 应用预览功能访问 TensorBoard。
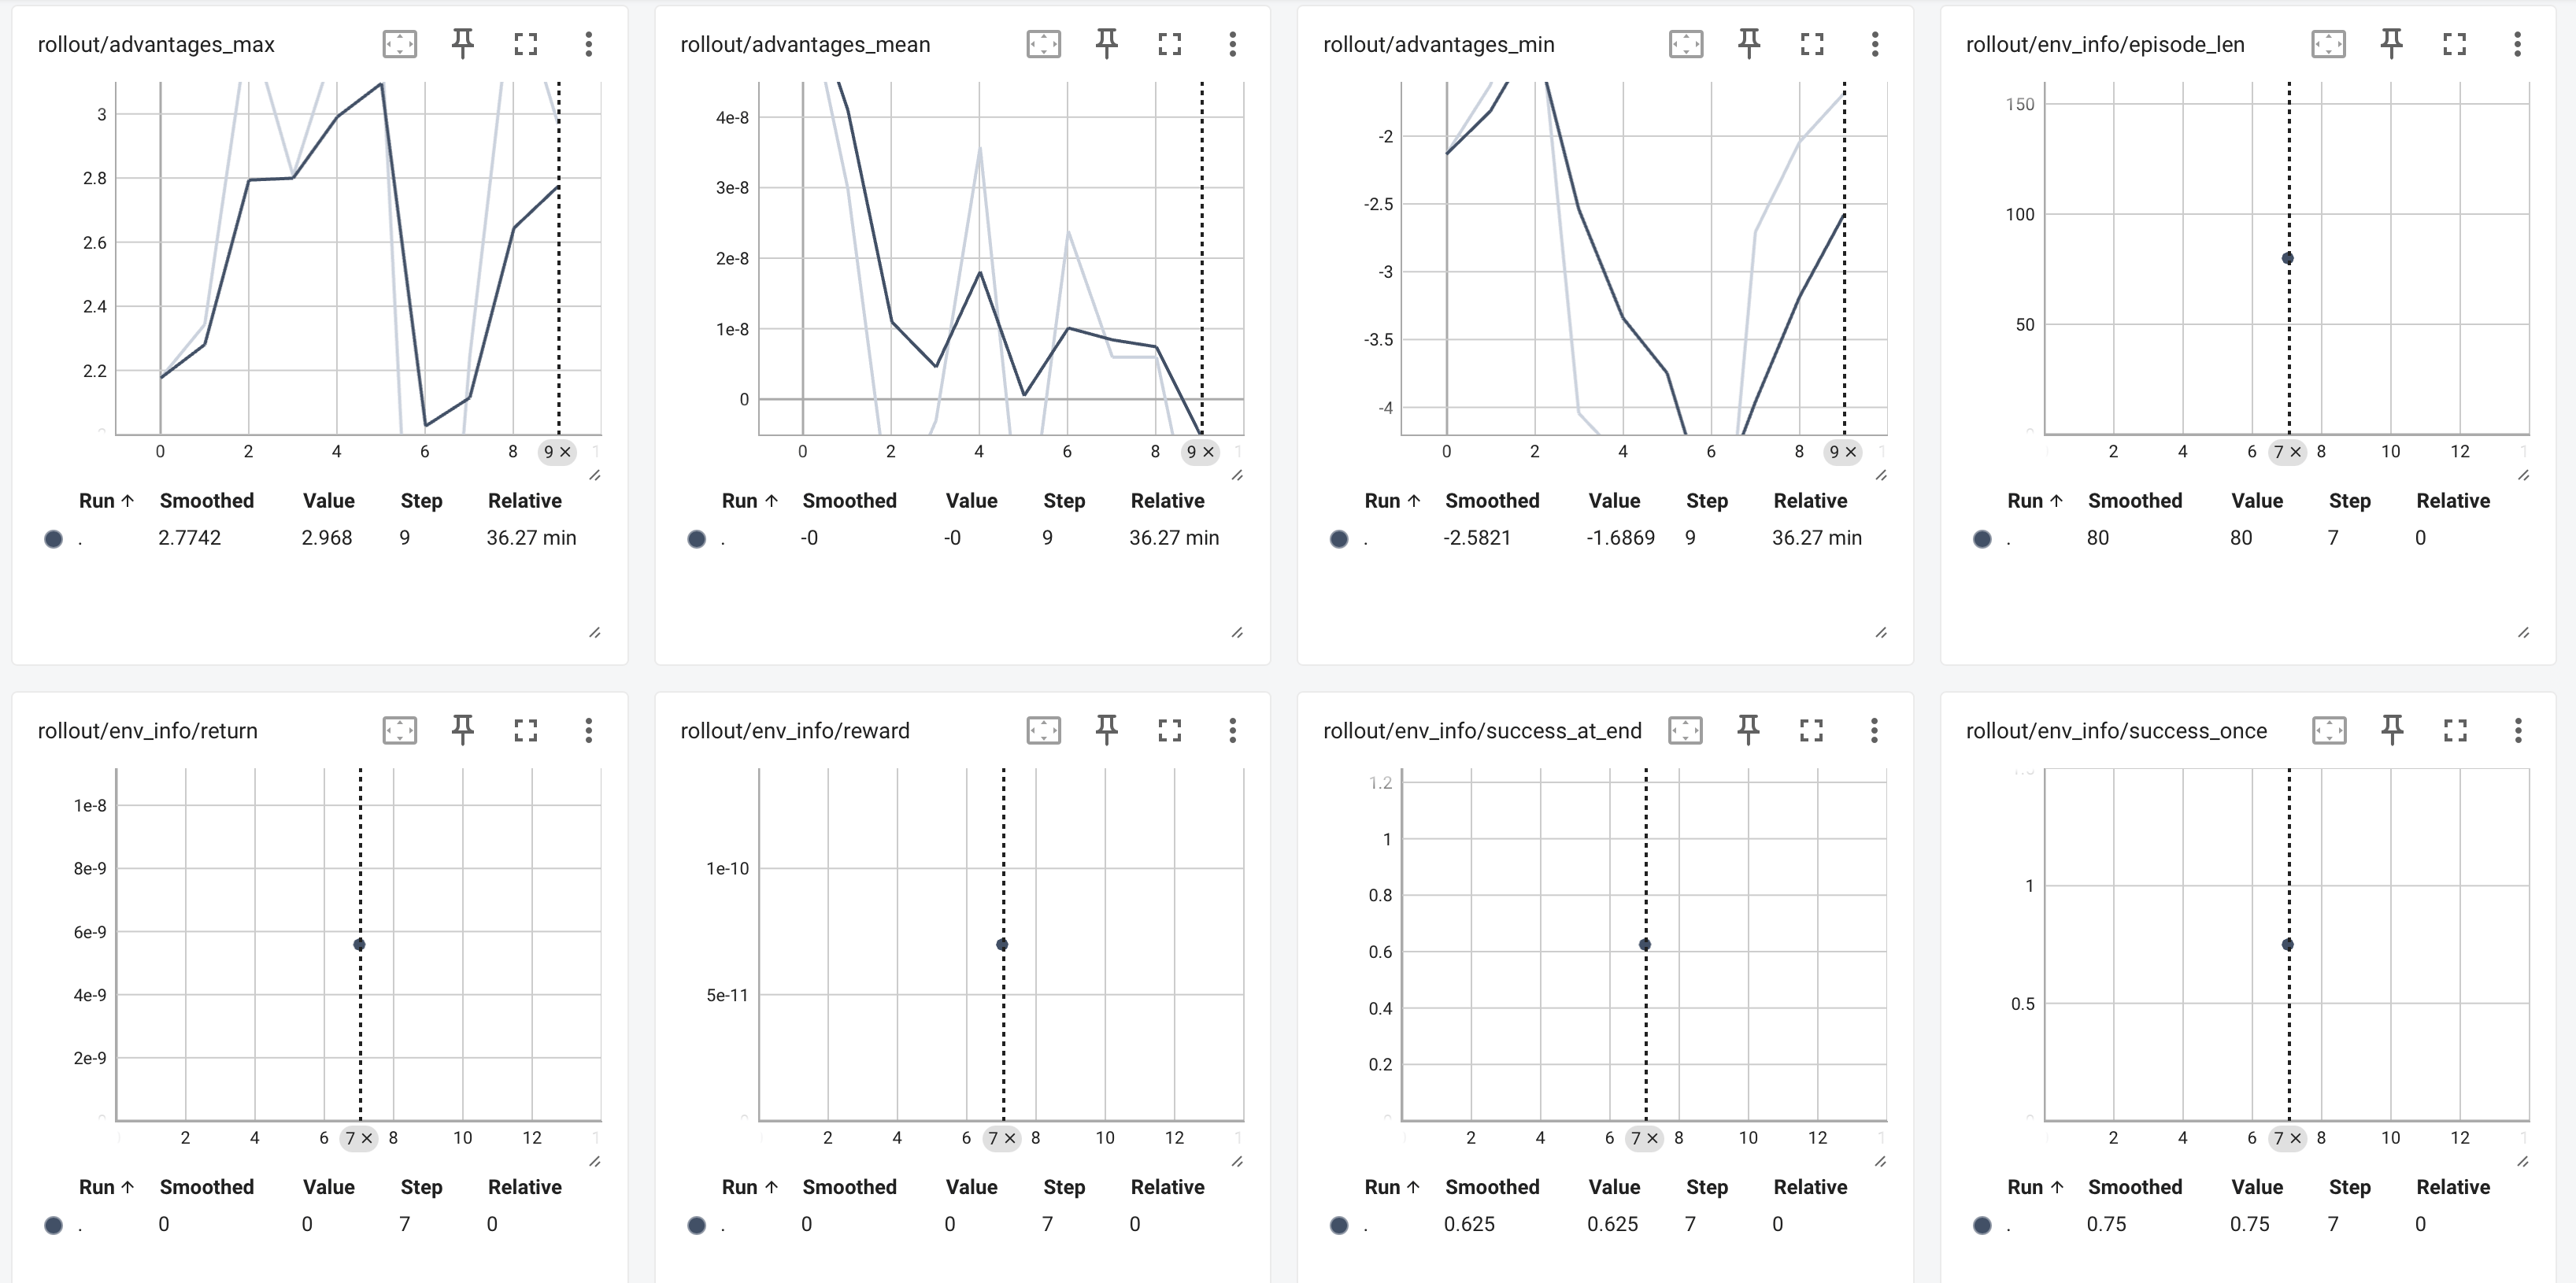
打开 TensorBoard 后,建议重点关注以下指标:
rollout/env_info/returnrollout/env_info/success_once